My Home Lab (v2)
Overview
Idea
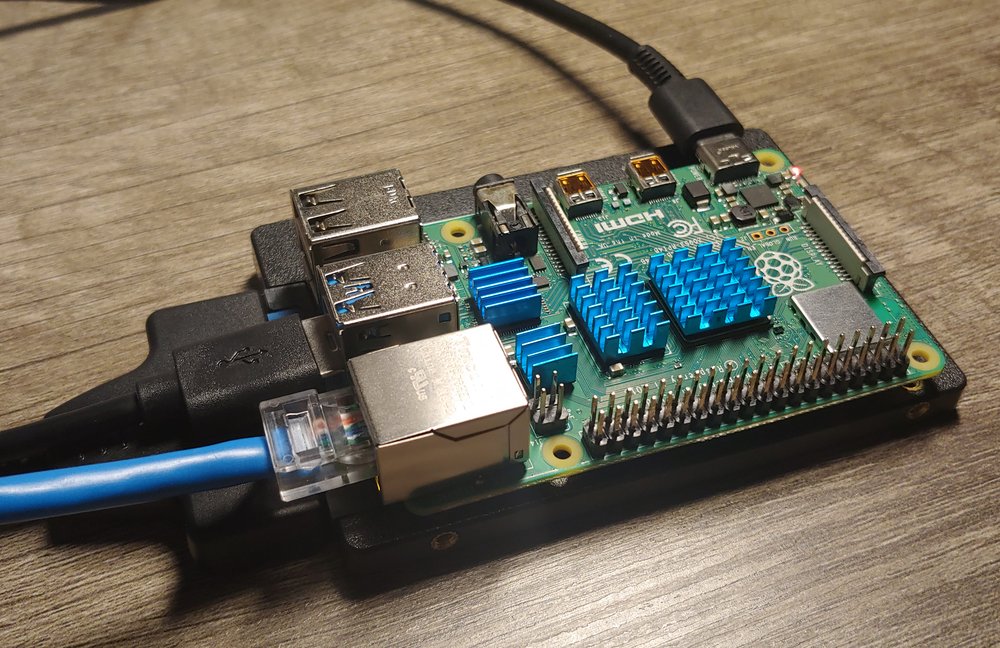
At the beginning it was just a file server on Raspberry Pi 4 + SSD with installed NextCloud server.
Then I needed a Virtualization Server where I could quickly deploy vm to test various software.
For this I chose KVM - as a hypervisor and LXC(LXD) for lightweight containers. LXC is good for simple servers like Nginx or Mysql, KVM for more complex system like FreeIPA Server, Docker, Kubernetes and others.
Ubuntu as a operating system.
Vagrant to manage virtual machines.
KVM (for Kernel-based Virtual Machine) is a full virtualization solution for Linux on x86 hardware containing virtualization extensions (Intel VT or AMD-V). Using KVM, one can run multiple virtual machines running unmodified Linux or Windows images. Each virtual machine has private virtualized hardware: a network card, disk, graphics adapter, etc.
Canonical call LXD the "lightervisor". It offers a user experience similar to virtual machines but using Linux containers instead. LXD uses LXC through liblxc and its Go binding to create and manage the containers. It's basically an alternative to LXC's tools and distribution template system with the added features that come from being controllable over the network.
Hardware:
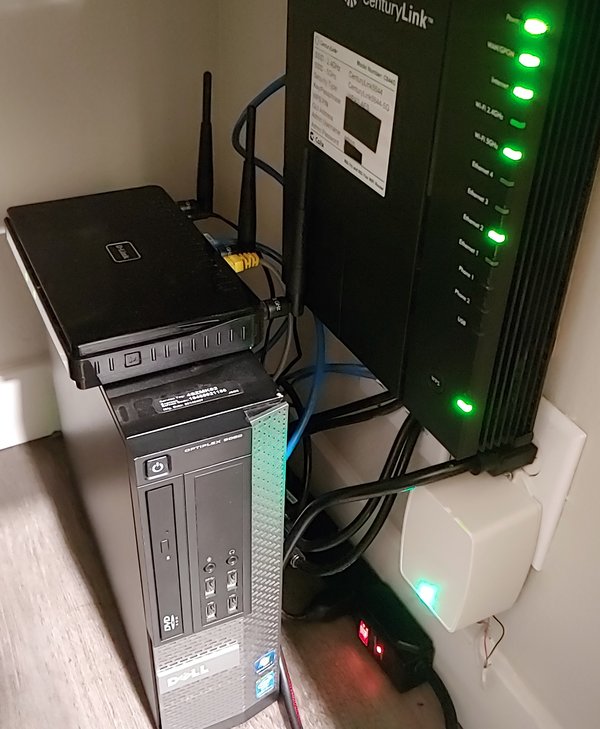
I was planning to use an HP Server(ProLiant DL165 G7), but due to a lot of noise and since I didn’t need too much resources, I chose a simple old desktop Dell Optiplex 9020. (Intel Core I5-4570 3.20 GHz, 16Gb RAM)
Network + DNS:
All traffic go through D-Link DIR-835 with installed OpenWrt.
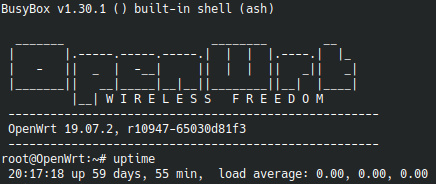
OpenWrt provides many capabilities found only in high-end devices and offers good secure level by default. Thanks to additional packages, you can configure monitoring and traffic analysis, and much more.
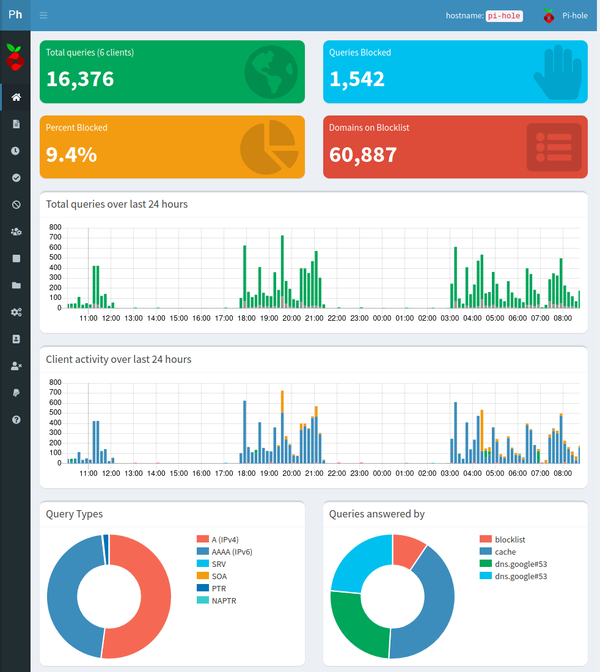
 Pi-hole is Network-wide ad blocking system, but I also using it as a local DNS server. In OpenWrt needs to add Pi-hole IP as a different DNS servers for all DHCP clients.
( LuCI: Network -> Interfaces -> LAN -> Edit -> scroll down to DHCP server -> Advanced settings -> look under DHCP-Options )
Instalation:
 1#KVM
 2sudo apt install qemu-kvm libvirt-daemon-system libvirt-clients bridge-utils
 3sudo usermod -aG libvirt $USER
 4sudo usermod -aG kvm $USER
 5
 6
 7#LXD is installed by default in Ubuntu as a snap package just need to run:
 8lxd init
 9
10
11#Vagrant
12wget https://releases.hashicorp.com/vagrant/2.2.14/vagrant_2.2.14_x86_64.deb
13sudo apt install ./vagrant_2.2.14_x86_64.deb
14
15sudo apt install qemu libvirt-daemon-system libvirt-clients \
16	ebtables dnsmasq-base  libxslt-dev libxml2-dev libvirt-dev \
17	zlib1g-dev ruby-dev ruby-libvirt build-essential
18
19vagrant plugin install vagrant-libvirt
20
21#Network bridge
22sudo vim /etc/netplan/00-installer-config.yaml
23	network:
24	  version: 2
25	  # renderer: networkd
26	  ethernets:
27	    eno1:
28	      dhcp4: no
29	      dhcp6: no
30
31	  bridges:
32	    br0:
33	      interfaces: [eno1]
34	      dhcp4: no
35	      addresses: [192.168.10.10/24]
36	      gateway4: 192.168.10.1
37	      nameservers:
38	        addresses: [192.168.10.1]
39
40sudo netplan apply
41
42sudo timedatectl set-timezone America/Los_Angeles
Monitoring
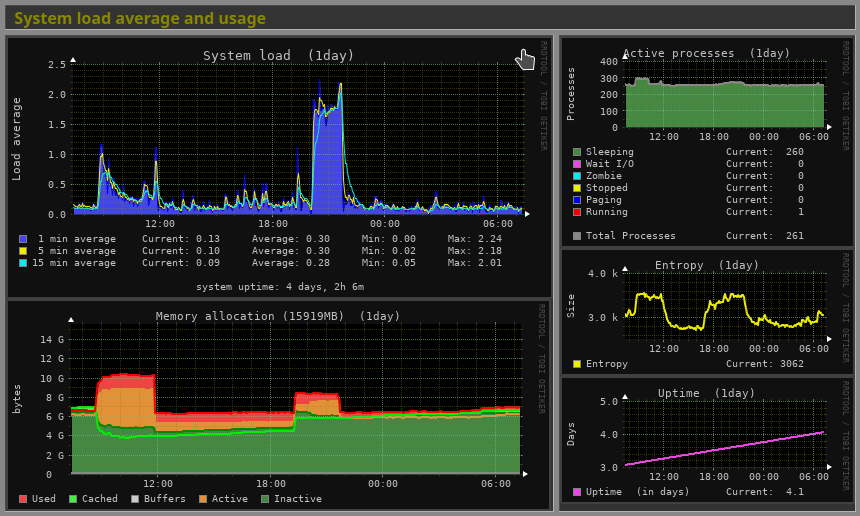
For monitoring I'm using Monitorix. It is a free, open source, lightweight system monitoring tool designed to monitor as many services and system resources as possible. It has been created to be used under production Linux/UNIX servers, but due to its simplicity and small size can be used on embedded devices as well.
